Goal
Finish server setup
Finish with a running SyncVisor server, one admin account, and one app or browser session that can sign in.
Before
Before you start
- Choose a computer or host that can stay on when you need file access.
- Make sure the storage location has room for files, history, and backup staging.
- Keep the first admin password somewhere safe.
- Have one app or browser ready on the same network.
1. Download Server Manager
Open the Download page on the computer that will host SyncVisor and download Server Manager for that platform.
2. Install and start the server
- Install and open SyncVisor Server Manager.
- Choose the storage location when prompted.
- Start the server from Server Manager.
- Create the admin account when setup opens.
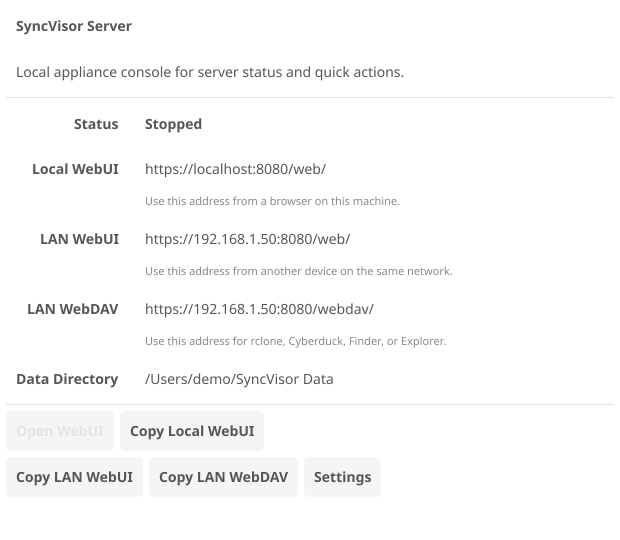
- Confirm Server Manager shows the server as running.
3. Connect the first app
Open the desktop or mobile app on the same network and use discovery first. If the server does not appear, copy the address from Server Manager and enter it manually.
Use discovery first:
The server advertises itself on the local network, so most first connections should not require typing an IP address.
4. Open the WebUI for admin checks
Use the WebUI for browser file access, users, sharing, quotas, backup status, and recovery checks.
https://<server-address>:<port>/web/Success check
- Server Manager shows the server is running.
- The admin account can sign in through the WebUI.
- One native app can connect to the server.
- You can upload and open one small test file.
Continue